How to Create Local Business Pages: Google, Yelp, Apple Maps, and Waze

Adding your brand to local business pages ensures that you show up on whatever map customers use to search for you. It also enhances your local SEO, especially if you start a campaign to gain more reviews. You may find that you’re already listed on some platforms. It’s worthwhile claiming these listings, as you’ll gain control over your page and receive access to additional features.
Adding Your Business to Google
By creating a Google My Business account, you’ll appear both on Google Maps and in local searches.
Step 1: Sign Up for Google
If you already use any Google services, you have a Google account. However, you may like to create a separate account just for your brand.
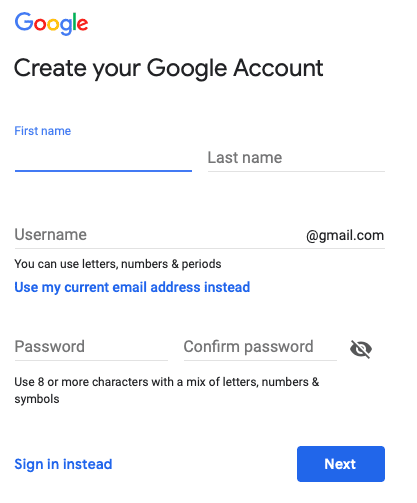
Step 2: Claim or Add Your Business
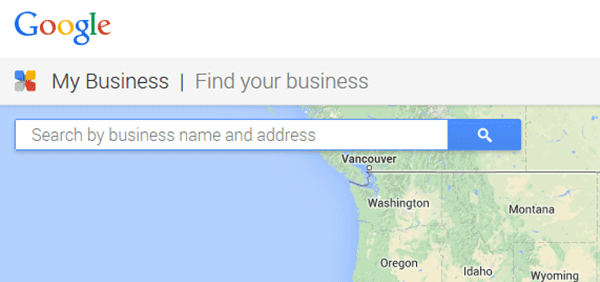
Find out if your business is already on Google Maps by searching for its name and address. If it is there, claim it and start the verification process. If it does not yet exist, add it.
Adding Your Business to Yelp
Adding your business on Yelp will allow you to receive reviews, which is beneficial for the SEO of small businesses. If your business is already on the platform, you should claim it. This will enable you to ensure that your business information is accurate, to upload images, to respond to reviews, and to communicate with potential customers.
Step 1: Search for Your Business
Search for your business. If it does not appear, click “Add your business to Yelp.”

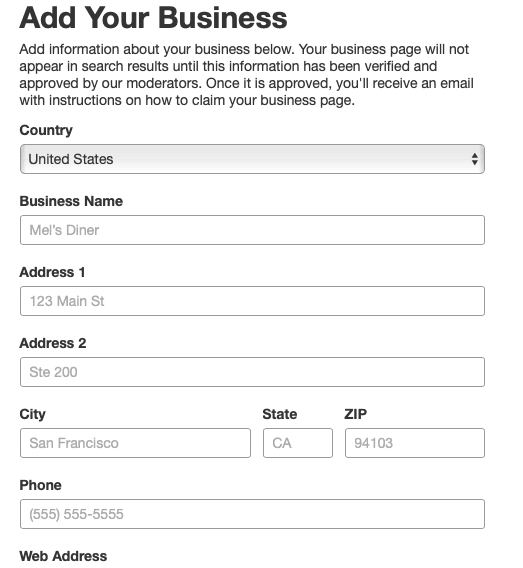
Step 2: Enter Your Business Information
Fill all the fields with relevant information and provide Yelp with your email address. You’ll need to confirm your email to complete the setup.
Adding Your Business to Apple Maps
More than a third of iPhone owners in the U.S. use Apple Maps. Whereas this means that Apple Maps has a far smaller user base than Google Maps, it also means that if your business is not listed on Apple, it will be difficult to find for millions of users.
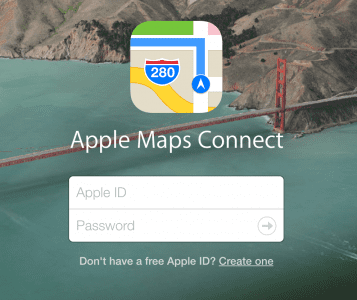
Step 1: Sign Up
Sign up for Maps Connect using your Apple ID. If you use any Apple devices or services, you’ll already have an Apple ID. Otherwise, you can create one in seconds.
Step 2: Agree to the Terms and Conditions
The terms and conditions state that you own the images and other assets that relate to your business. They also give permission to Apple to use the information you submit.
Step 3: Add Your Business
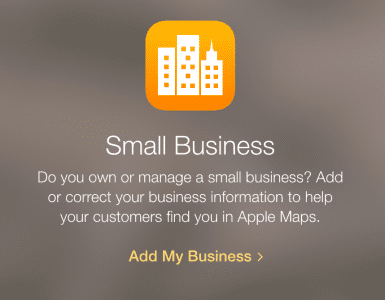
Search for your business to make sure it’s not already on the map. If it is, you need to claim it. If it’s not, click “Add New Business” and provide all the relevant information. Like with Google, you’ll then need to verify that you are the owner.
Adding Your Business to Waze
One last map you need to add your business to is Waze. The app has more than 90 million monthly active users globally — all of whom will struggle to find you if you’re not on the map.
Step 1: Create an Account
If you use Waze, log in with your regular account. Otherwise, download the app and sign up.
Step 2: Add Your Business
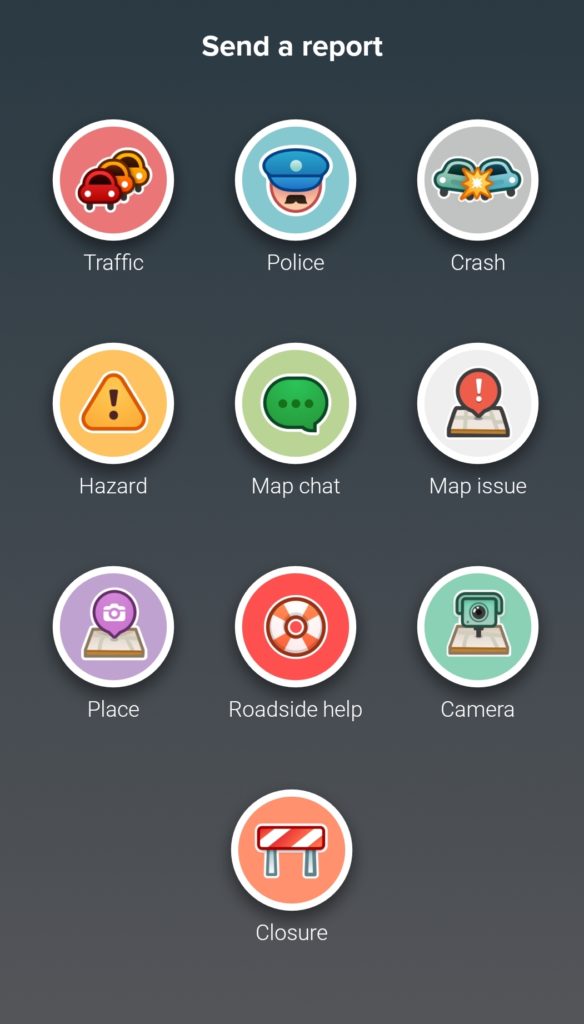
Click on the orange icon to head to your dashboard. Tap the “Place” icon — this will open your camera. Take a picture of your storefront to upload an image for the map.
Step 3: Fill in Your Details
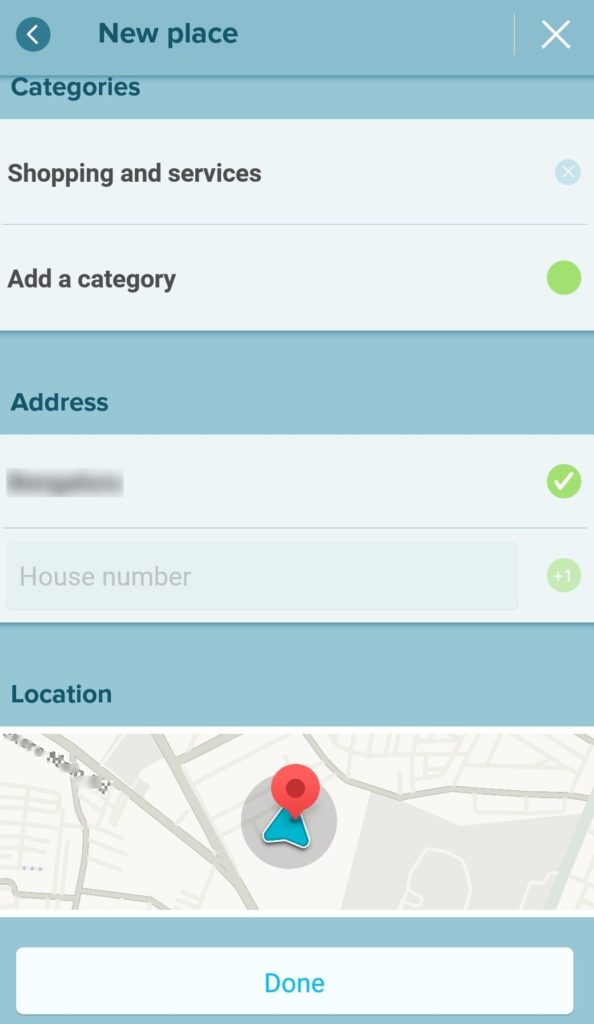
Add your business name, a description, your contact information, and open hours to your listing. Make sure that the location on the map is correct.
Setting up your local business pages is just the start. Check back often to ensure your pages stay updated and relevant, such as if your open hours change or your storefront gets a makeover. On Google My Business and Yelp, also take advantage of the chance to communicate with customers and post content.
